Introduction
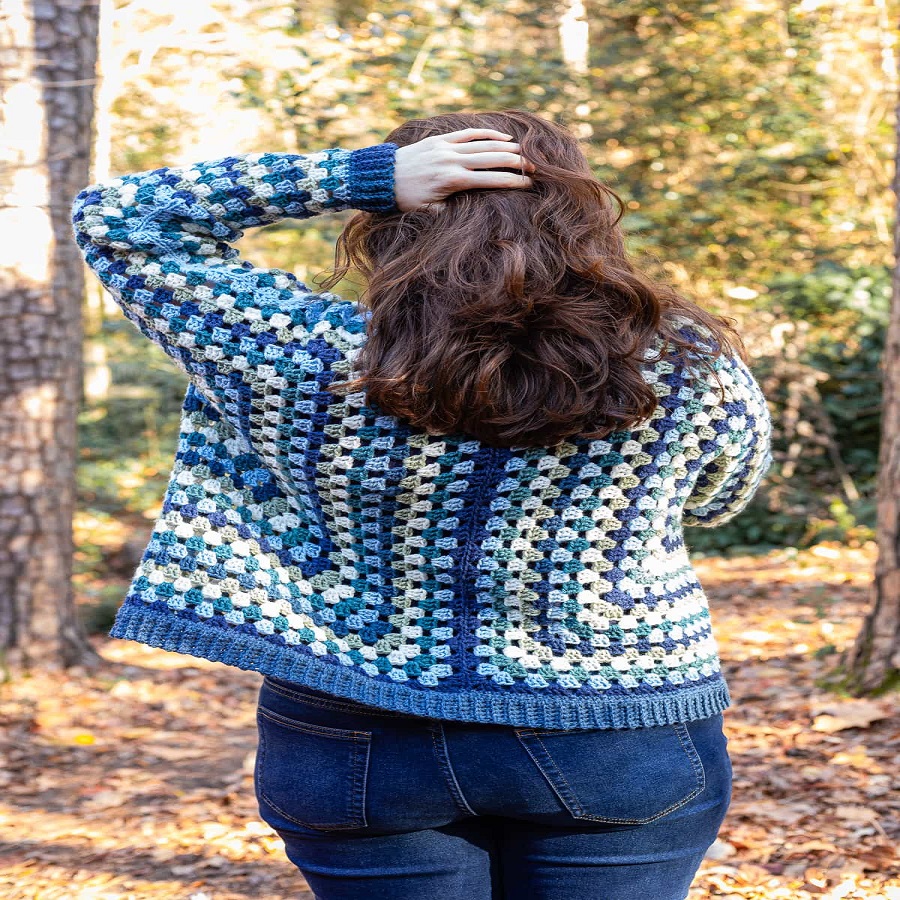
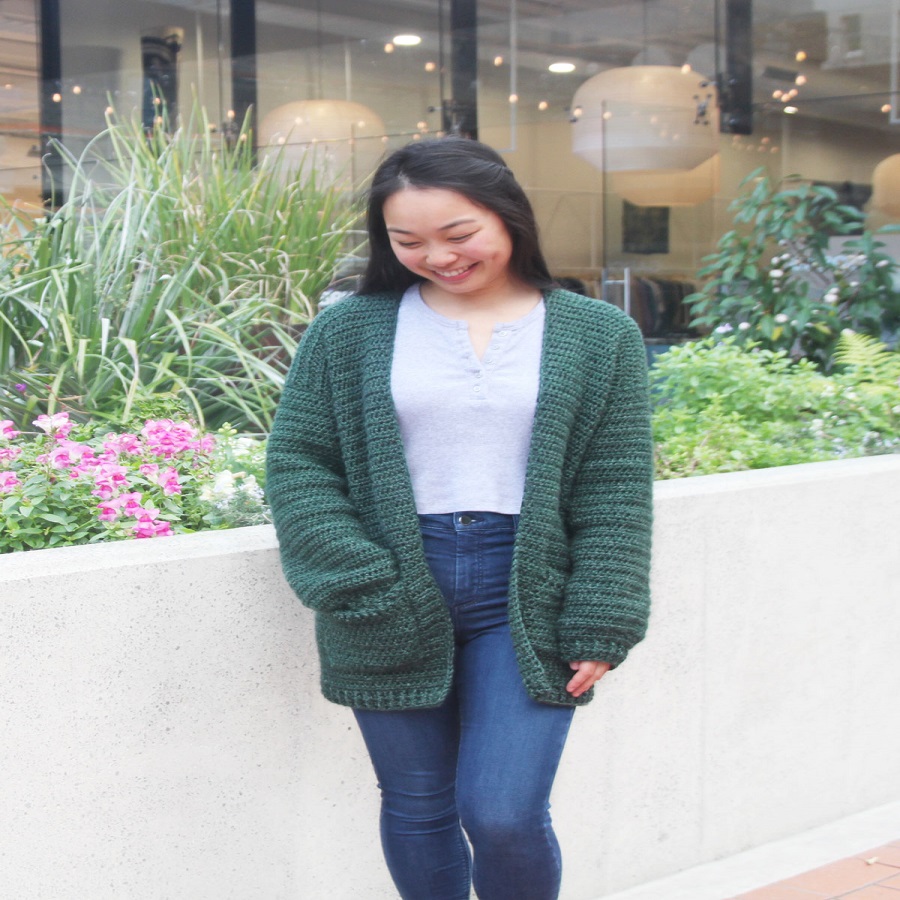
Oversized cardigan crochet pattern – In the realm of cozy and chic fashion, oversized cardigans have become a wardrobe staple. There’s something undeniably comforting about wrapping yourself in a soft, roomy sweater on a chilly day. The beauty of crochet lies in its ability to transform simple yarn into wearable art, and with a bit of patience and creativity, you can craft your very own oversized cardigan. This comprehensive guide will walk you through the process, from selecting materials to finishing touches, ensuring that your DIY project is both enjoyable and rewarding.
Choosing Your Materials
Yarn Selection
The first step in any crochet project is selecting the perfect yarn. For an oversized cardigan, you’ll want a material that is soft, warm, and has good drape. Here are a few popular choices:
- Wool Blend: Provides warmth and has a natural stretch, ideal for winter wear.
- Acrylic: Budget-friendly, comes in a wide range of colors, and is easy to care for.
- Cotton Blend: Great for transitional weather, as it’s breathable yet still cozy.
- Alpaca or Mohair: Luxuriously soft, with a fluffy texture that adds volume to your cardigan.
Choose a worsted or chunky weight yarn to ensure your cardigan is not only warm but also works up quickly.
Crochet Hook
The size of your crochet hook will depend on the yarn you choose. Check the yarn label for recommended hook sizes. Typically, a 5.5mm (I) to 8mm (L) hook is suitable for worsted to chunky yarns.
Other Supplies
- Stitch markers: To mark pattern repeats or edges.
- Tapestry needle: For weaving in ends.
- Scissors: For cutting yarn.
- Measuring tape: To check gauge and measurements.
Understanding Gauge and Sizing
Before diving in, make sure to create a gauge swatch. This small sample helps you match the pattern’s tension, ensuring your cardigan fits as intended. Adjust your hook size if necessary to achieve the correct gauge.
Sizing can be customized based on your body measurements. Most patterns offer a range of sizes, but don’t hesitate to modify for a personalized fit. Measure your bust, waist, hips, and desired length to determine the starting chain and number of rows needed.
The Pattern: A Basic Outline
Foundation Chain
Start by chaining the required number of stitches for your chosen size, plus a few extra chains for the turning chain and seam allowance.
Body of the Cardigan
- Rows: Work in the chosen stitch pattern (e.g., double crochet, half-double crochet) until you reach the desired length for your cardigan’s body. Remember to count rows accurately to maintain symmetry.
- Shape the Armholes: Once the body reaches mid-torso length, you’ll begin shaping the armholes. This typically involves skipping stitches at the beginning and end of each row to create openings.
- Divide for Front and Back: After shaping the armholes, split the work to crochet the front panels separately. You might add buttons, a shawl collar, or other design elements at this stage.
Sleeves (If Desired)
- Foundation Ring: Start with a magic ring or chain stitches to form a loop for the sleeve.
- Increasing: Work in rounds, gradually increasing stitches to shape the sleeve cap. Continue until the sleeve reaches the desired length.
- Repeat for the Second Sleeve.
Finishing Touches
- Seaming: Use the tapestry needle to sew together any open seams, like under the arms.
- Borders and Edging: Add a decorative border around the edges of your cardigan to give it a polished look.
- Blocking: Wet block or steam block your finished piece to even out stitches and enhance drape.
Customization Tips
- Stitch Patterns: Experiment with different crochet stitches to create textures like cables, lace, or ribbing.
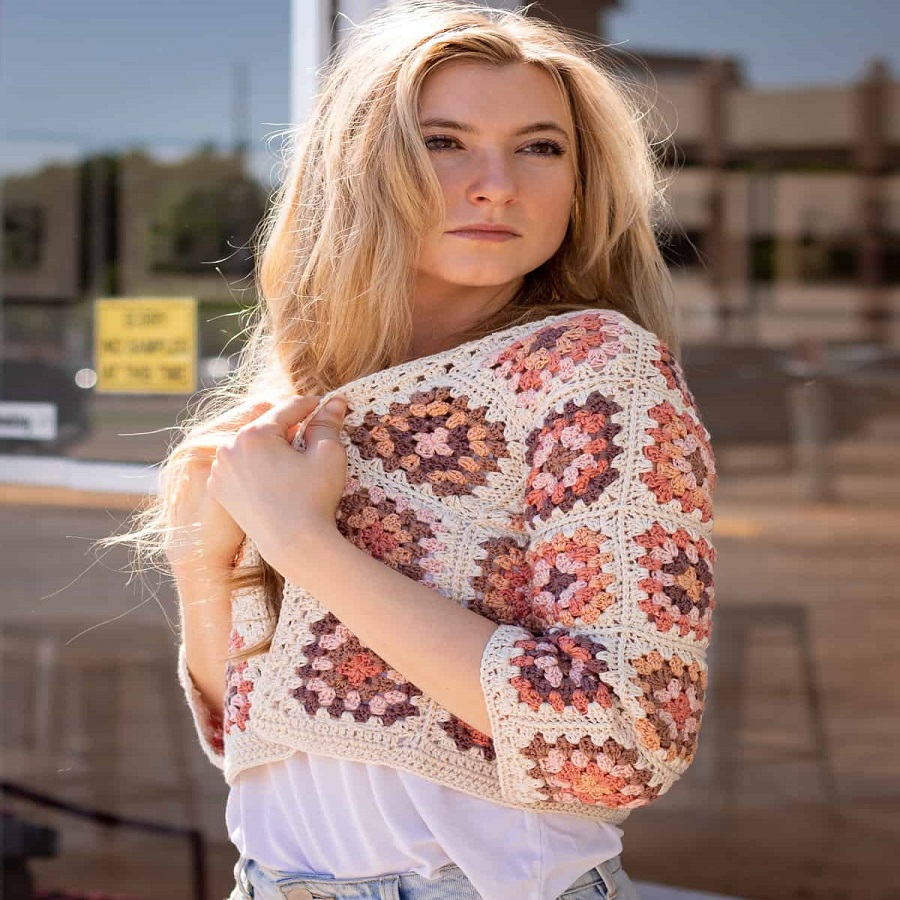
- Colorblocking: Use multiple colors to create blocks of color or stripes for a playful touch.
- Embroidery or Patches: Personalize your cardigan with embroidered motifs, appliques, or patches.
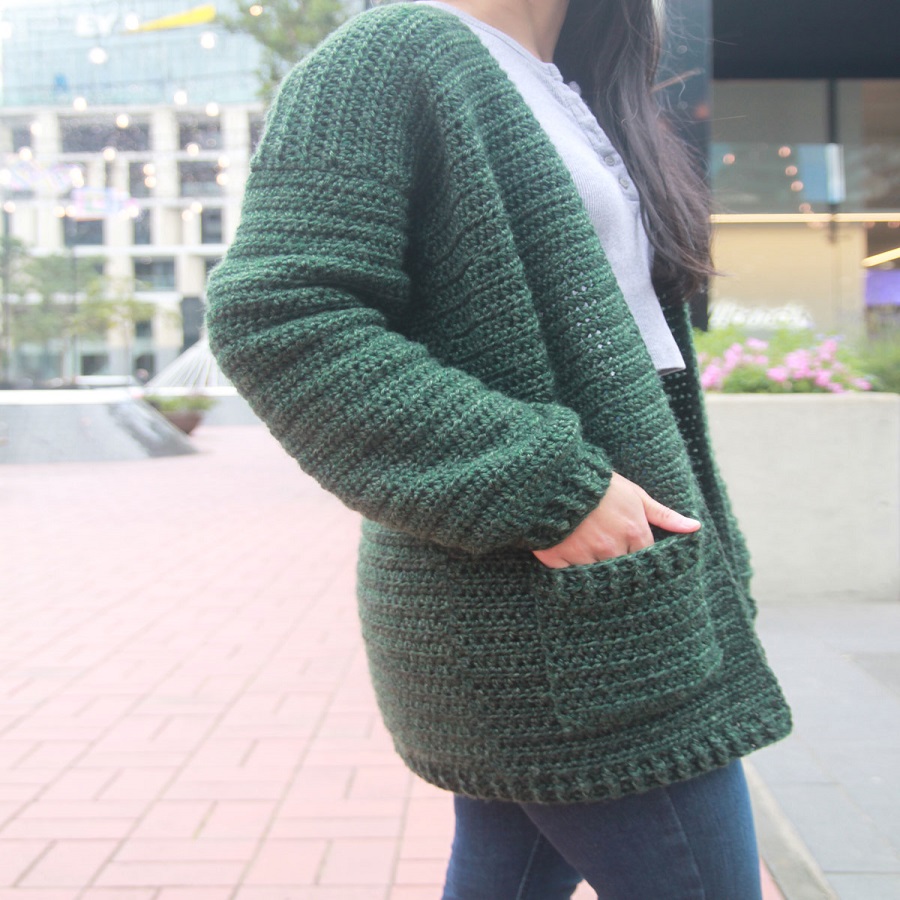
- Pockets: Add functional pockets for a practical and stylish element.
Picking a Pattern
Search online for free or paid crochet patterns for oversized cardigans, keeping in mind your skill level. Many patterns include detailed instructions, stitch counts, and charts, making them easy to follow. As a beginner, look for patterns that use simple stitches and have clear explanations.
Crocheting the Back Panel
Start by crocheting the back panel, which will be the largest piece of your cardigan. Follow your chosen pattern closely, beginning with a chain that matches the width you desire. Work in rows until you reach your desired length, usually around hip or mid-thigh level for an oversized look.
Crafting the Front Panels
Next, crochet the two front panels separately. These can mirror the back panel in terms of stitch pattern but will generally be shorter to accommodate the overlap when worn. Pay attention to any shaping required for the neckline.
Joining the Pieces
Once your panels are complete, it’s time to join them at the shoulders. This can be done using a whip stitch or a crochet seam, following your pattern’s instructions. After joining, crochet or织边缘 around the entire cardigan to give it a finished look.
Adding Sleeves
Sleeves can be worked in rounds from the shoulder down or in rows and then sewn onto the cardigan. Choose a sleeve style that complements your design – fitted, slightly puffed, or straight – and adjust the pattern accordingly.
Finishing Touches
Finally, add buttons, toggles, or a belt to your cardigan for closure and style. You might also consider edging the cuffs and bottom hem with a different stitch pattern for added detail.
Choosing Your Yarn:
The foundation of any crochet project lies in selecting the right yarn. For an oversized cardigan, aim for a soft, breathable, and warm material that drapes beautifully. Worsted weight yarn or chunky yarns work well, offering both speed in crocheting and ample coziness. Consider blends of wool, alpaca, or acrylic for easy care and warmth. Don’t forget to check the yardage, ensuring you have enough for your size and desired length.
Hook Selection:
The crochet hook size should complement your chosen yarn. Refer to the yarn label for recommended hook sizes, but typically, a 5mm (H-8) to 9mm (M/N-13) hook works well for worsted to chunky yarns. A larger hook can create a looser, more relaxed stitch pattern ideal for an oversized look.
Pattern Selection & Understanding Gauge:
Browse online for a free or paid crochet pattern that matches your style preference. Patterns often include sizes ranging from small to plus-size, ensuring inclusivity. Familiarize yourself with the pattern’s gauge – the number of stitches and rows per inch. Test your gauge before starting to ensure the finished garment fits as intended. Adjust your hook size if necessary.
Mastering Basic Stitches & Techniques:
If you’re new to crochet, mastering basic stitches like chain (ch), single crochet (sc), double crochet (dc), and half-double crochet (hdc) is crucial. More advanced techniques such as increasing, decreasing, and working in the round might also be required. YouTube tutorials and crochet forums can be invaluable resources for learning these skills.
Customizing Your Cardigan:
Personalization is key to making your oversized cardigan truly unique. Consider adding pockets, a hood, or even fringe along the edges. Play with stitch patterns; a mix of textured stitches like cables, shells, or bobbles can elevate your design. Don’t hesitate to modify the length, sleeve style, or collar shape to suit your taste.
Assembly & Finishing Touches:
After crocheting the individual pieces (typically front panels, back panel, sleeves), you’ll缝合 them together, following the pattern’s assembly instructions carefully. Block your cardigan to set the stitches and achieve the desired shape and drape. Finally, weave in all ends securely and consider adding buttons, toggles, or a tie belt for closure.
Caring for Your Creation:
To maintain the beauty and longevity of your handmade cardigan, follow the care instructions for your chosen yarn. Most natural fibers benefit from hand washing in cold water and laying flat to dry. Avoid harsh detergents and high heat, which can damage or shrink your garment.
Conclusion:
Crafting an oversized cardigan through crochet is a journey that combines creativity, patience, and love for the craft. Each stitch holds a part of your story, resulting in a wearable masterpiece that not only keeps you warm but also warms hearts with its homemade charm. Embrace the process, experiment with different styles, and above all, enjoy the comfort and satisfaction that comes from wearing a garment crafted by your own hands. Happy crocheting!